

A terraced rock garden turns a steep, eroding slope into a series of stable, plantable steps held in place by strategically placed stone. It works best on moderate to steep grades where erosion or runoff is already a problem, and once established, it needs far less upkeep than a mowed bank or bare hillside. The right approach depends on your slope, drainage, and access, all covered below along with the full build sequence and plant picks.
TL;DR:
- Steeper slopes generally require multiple, shorter terraces rather than one high wall to better distribute soil pressure and improve stability.
- Anchor boulders should be buried about one-third of their depth to mimic natural stratification and ensure long-term stability.
- Proper drainage layers and landscape fabric are essential foundation steps to prevent slumping and ensure decades-long durability.
- Access planning with steps or pathways from the start is critical to maintain and manage the garden effectively over time.
- Heavy or engineered retaining structures, or slopes with high soil retention needs, are best handled by professionals to meet safety and local permitting requirements.
Table of Contents
- What Makes a Site Right for a Terraced Rock Garden?
- Choosing the Right Stone, Gravel, and Soil
- Building a Terraced Rock Garden Step by Step
- Which Plants Actually Thrive in Rock Garden Pockets?
- Designing Access So You Can Actually Maintain It
- Design Styles Worth Stealing for Your Terraces
- When to Bring In Rokworx
- A Lesson From the Field
- Get a Terraced Rock Garden Built Right the First Time
- Sources
What Makes a Site Right for a Terraced Rock Garden?
Not every slope needs terracing, and not every terrace needs to be a wall. The first job is figuring out which category your yard falls into.
Start with a simple grade check: stake a string level from the top of the slope to the bottom, measure the drop, and divide by the horizontal distance. Gentler slopes might need only a few informal stone risers and mulch. Steeper or eroding slopes generally require a terraced structure with retained beds.
From there, walk the site with a few questions in mind:
- Where does water want to go? Watch the slope during or right after a heavy rain and mark where it pools or channels. Those lines dictate where your drainage base and any pipe or gravels wale need to run.
- How will you actually reach the middle terraces? Decide on step locations before you place a single rock. Retrofitting access later usually means tearing out finished work.
- Does the wall height trigger a permit? Many local councils require engineering sign off on retaining structures above a certain height that may require a permit, so check before you dig. Anything holding back a significant amount of soil, or sitting near a boundary or structure, is worth a quick call to an engineer regardless of the rule.
- Are there multiple low terraces instead of one tall wall? Stacking a few shorter terraces is usually both more stable and more visually natural than a single high retaining wall, since it distributes soil pressure across several smaller structures rather than concentrating it behind one. Rokworx’s guide on incorporating rocks on steep slopes covers how to keep water moving through a stepped design instead of pooling behind it.
Choosing the Right Stone, Gravel, and Soil
Every terraced rock garden needs three tiers of material working together, not one big pile of “landscaping rock.”
Anchor boulders do the structural work. These are your largest stones, typically large stones, often weighing several tens of kilograms or more, set into the slope to hold the terrace line and stop soil movement. Mid-size accents, roughly fist to basketball sized, fill the gaps and create the visual rhythm between anchors. Gravel or pebble fill finishes the surface, controls weeds, and helps water drain instead of pooling.
Stick to one dominant rock type and color family. Mixing granite boulders with sandstone accents and river pebbles reads as a scattered dump rather than a natural outcrop. Rokworx’s breakdown of landscaping rocks for Melbourne gardens walks through which stone types pair well for a cohesive look.
For sourcing, local quarries generally beat big-box bagged stone on both price and consistency once you’re buying by the tonne, and most suppliers can arrange delivery with a crane or excavator for anything too heavy to move by hand.
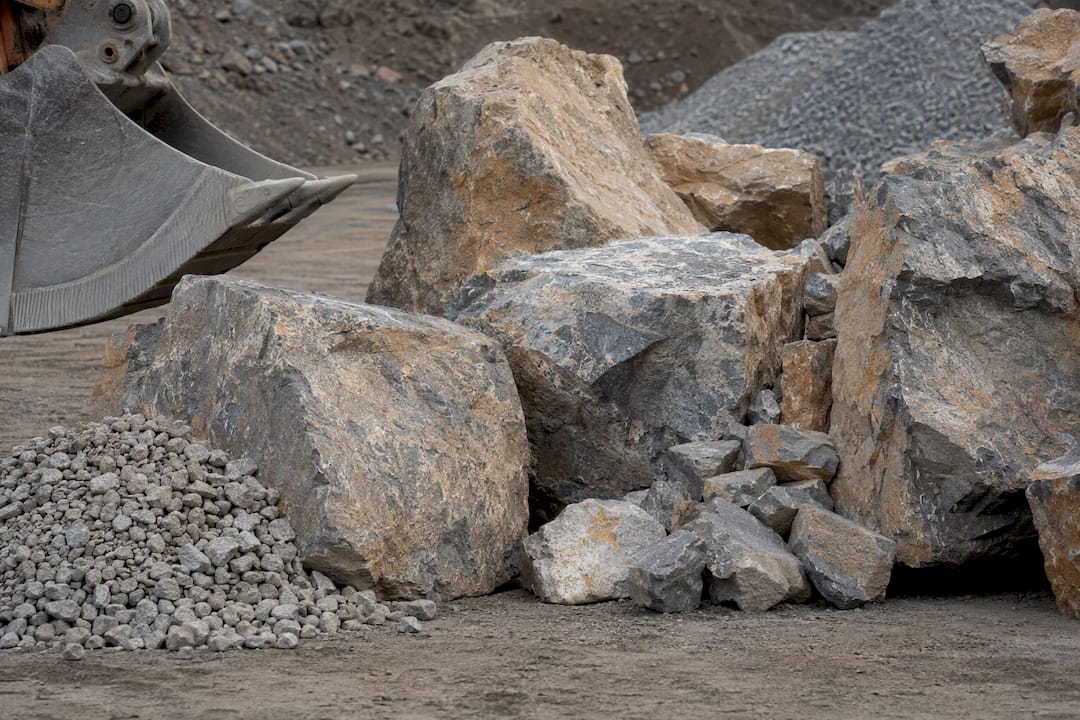
Settling and compaction eat into coverage fast, and a mid-project top-up delivery costs more than buying a bit extra upfront.*
Building a Terraced Rock Garden Step by Step
The build order matters more than any single material choice. Skip a step here and you’ll be rebuilding within a year.
- Clear and protect the site. Strip weeds and grass, flag utility lines, and install temporary erosion barriers like silt fencing or straw wattles if the slope is exposed for more than a day or two.
- Lay the drainage base. Excavate a trench along the lowest terrace line and fill it with a deep layer of coarse rubble or pea shingle, roughly 15 to 20 centimeters. Roll out landscape fabric over the base to stop soil from silting into the drainage layer over time. Solid site prep here is what separates a rockery that lasts decades from one that slumps after two wet seasons, according to BBC Gardeners’ World Magazine’s rockery guide.
- Set the keystone boulders. These anchor stones go in first, tilted slightly backward into the slope and buried to about one-third of their total depth. Fine Gardening’s slope-stabilizing guide recommends this burial ratio specifically because it mimics how rock naturally sits in stratified ground, which keeps the stone from creeping forward under soil pressure. The RHS’s alpine gardening advice backs the same one-third rule for long-term stability.
- Build the terrace faces. Dry-stack smaller stone above and between keystones for informal terraces, or mortar joints for a cleaner, more formal wall face. True engineered retention, with geogrid or drainage pipe behind the wall, belongs to a taller structure or unstable soil, not a DIY dry-stack.
- Backfill and create planting pockets. Fill behind the stone with quality topsoil, then hollow out pockets at the joints and fill those with a gritty, free-draining mix. Rokworx’s drainage tips for rock gardens cover how to keep those pockets from waterlogging after the first heavy rain.
- Top-dress and set up watering. A gravel mulch layer finishes the surface, and a slow-drip line makes the difference during the first dry summer while roots are still establishing.
Which Plants Actually Thrive in Rock Garden Pockets?
Plant choice comes down to matching the species to the pocket, not just picking things you like at the nursery.
- Alpine and crevice plants (saxifrage, sedum, thrift) want tight root zones and sharp drainage, which is exactly what a gritty pocket mix provides.
- Succulents and xeriscape species (sempervivum, agave, dwarf yuccas) handle full sun and drought once established and suit exposed, south-facing terraces.
- Shade-tolerant rock plants (hardy ferns, heuchera, dwarf hostas) work on the lower or north-facing terraces where boulders cast shadow most of the day.
For the pockets themselves, a mix of one part loam, one part horticultural grit, and one part leaf mold or coir gives you drainage without starving the roots, a ratio BBC Gardeners’ World Magazine uses as its standard crevice recipe. Tuck the rootball into the pocket at an angle, snug against the stone rather than in open soil, and space plants generously since most rock garden species spread wider than they look at planting time. Expect to water regularly through the first summer, tapering as roots establish.
Designing Access So You Can Actually Maintain It
A terraced rock garden that you can’t reach becomes a weed farm within a season. The single most common design failure is skipping access planning, and it shows up as unreachable pockets choked with grass by year two, a problem the Alpine Garden Society flags as the top mistake in amateur rock garden builds.
- Work stepping stones or a short flight of stone steps into the layout from the start, not as an afterthought once the beds are planted.
- Space steps so every terrace is reachable without stretching across a planted pocket.
- Budget more attention to weeding and watering in years one and two. Rock gardens only earn their “low maintenance” reputation once plants have filled in, a point BBC Gardeners’ World Magazine makes clear for anyone expecting instant results.
Pro Tip: If you find yourself designing a “pretty” terrace with no obvious foothold nearby, that’s the signal to add a step, not to skip one. Rokworx’s guide to rock steps covers placement options that don’t break up the visual flow.
Design Styles Worth Stealing for Your Terraces
Stone choice sets the mood before a single plant goes in. Rough, irregular fieldstone with informal planting reads naturalistic; squared-off blocks with tight mortar joints read formal and architectural. Both work on the same slope, just with different material.
- Add one oversized specimen boulder as a focal point rather than scattering equal-sized rocks evenly.
- A dry creek bed of rounded river pebbles winding between terraces adds movement without adding water demand.
- Low uplighting on a key boulder or terrace face extends the garden into evening use.
- Silvery, gray-leaved plants suit a moonlit or coastal look, while chunky succulents push the space toward a desert aesthetic, a range Gardenia covers well across different rock garden styles.
When to Bring In Rokworx
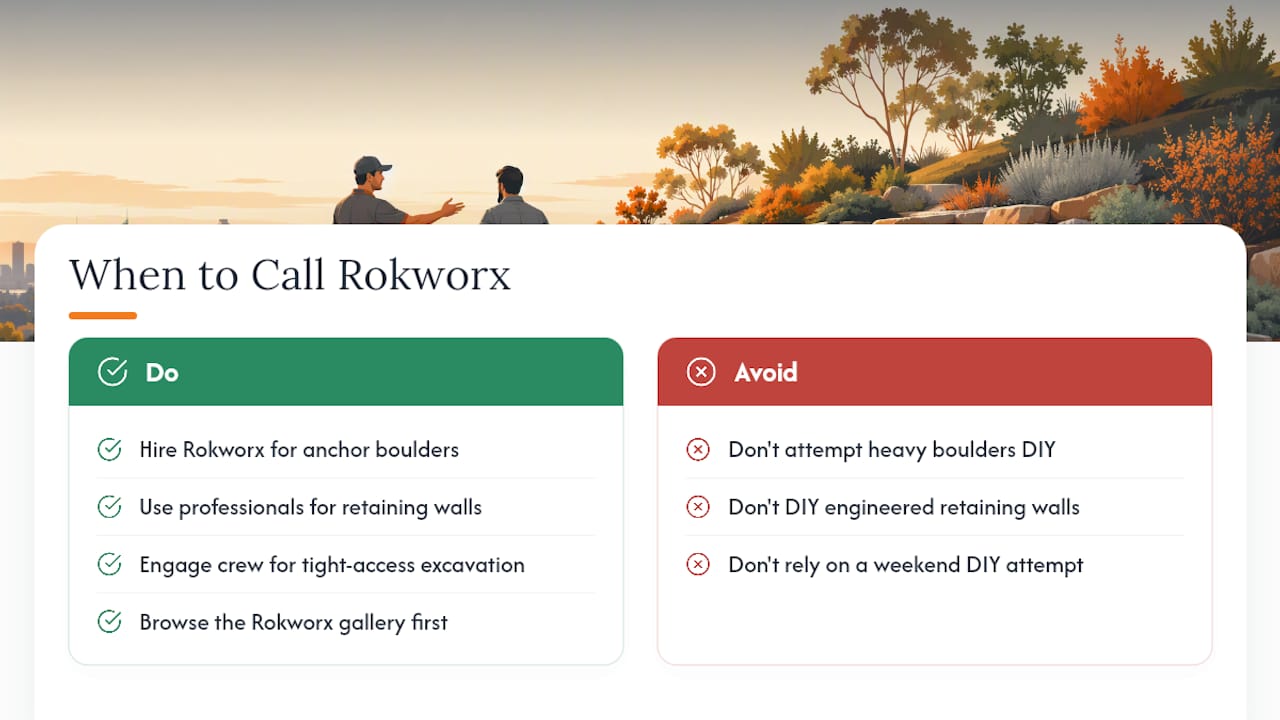
Landscaping rock supply, retaining rock wall construction, and related earthmoving and excavation services are available across Melbourne. Heavy anchor boulders, engineered retaining structures, and tight-access excavation jobs are exactly where a crew with the right machinery earns its keep over a weekend DIY attempt. Browse the Rokworx gallery for real project examples before deciding how much of the build to take on yourself.
A Lesson From the Field
On one Melbourne slope job, a keystone set without full one-third burial shifted after the first heavy rain. The fix: always over-bury rather than under-bury. Depth saves you a rebuild.
— MYBMC
Get a Terraced Rock Garden Built Right the First Time
Hiring a professional service can be a practical alternative to piecing a slope project together from a hardware store and a rented excavator. Coordinating supply of stone, excavation, and retaining structure construction as one job avoids the risk of errors common in DIY builds.

If your slope needs anchor boulders too heavy to move by hand, or a retaining wall that has to meet local engineering requirements, that’s the point to call in a crew rather than push through alone. Rokworx handles rock wall design and installation, sources the right stone through its guide on choosing the best rocks for rock walls, and manages the excavation work that heavy terracing demands. Pull together some site notes and photos of your slope, and request a quote or site visit to see what a terraced rebuild would actually take.
Sources
For more technical detail beyond this guide, the BBC Gardeners’ World rockery guide covers step-by-step construction, Fine Gardening’s slope guide focuses on stabilization technique, and the RHS alpine gardening page offers plant-specific crevice advice.
- How to Build a Rockery: Step by Step Guide | BBC Gardeners’ World Magazine
- Build a rock garden to stabilize a slope | Fine Gardening
- Alpine rock gardening | RHS


5 Comments
pk44plataforma
Finally found a platform that actually delivers on its promises. The game variety is insane and the support team is very helpful. Check out pk44plataforma
homeraisedparrots
Home Raised Parrots – Amazon Parrots Guide
pinballmarket
Premium Pinball,
Arcade & Foosball Machines Canada🚚
pomchipals
Tiny PomChi Puppies Ready for Loving Homes
euroketarelief
Eu Pharma